How Short a Papillon’s Nails Must Stay for Agility
If you've got a Papillon who loves to zip through agility courses, you already know their energy is boundless, often far exceeding their tiny size. But there's a silent, critical detail that can make or break their performance and even their long-term health: the length of their nails. Owners often grapple with how short is truly short enough, fearing the quick or struggling with a wriggly pup. This guide is here to shed light on exactly how short a Papillon's nails must stay for agility, why it matters so much, and practical steps to achieve it.
The Critical Importance of Short Nails for Agility Papillons
For an agility Papillon, their nails are not just an aesthetic feature; they are a fundamental component of their athletic performance and overall physical well-being. Think of it like a human athlete's running shoes – if the fit is wrong, or the sole is compromised, every aspect of their movement suffers. For our tiny butterfly dogs, overgrown nails are like trying to run a sprint in flippers.
Why Nail Length Directly Impacts Performance
When a Papillon's nails are too long, even by a tiny fraction of an inch, it drastically alters their paw mechanics. Imagine your Papillon launching over a jump, turning on a dime around a cone, or scrambling up an A-frame. Each of these actions requires optimal grip and stability. Long nails prevent the paw pads, which are designed for traction, from making proper contact with the ground or obstacle. Instead, the nails hit first, creating a slippery, unstable point of contact.
This instability isn't just a minor inconvenience; it's a genuine performance hindrance. A dog cannot accelerate as efficiently if their paws are constantly slipping, nor can they pivot quickly without fear of losing their footing. Their stride shortens, their confidence wanes, and their speed on the course inevitably decreases. Moreover, think about the impact on contact obstacles like the dog walk or teeter-totter. These require precise foot placement and secure grip. Long nails can cause a dog to slide, leading to hesitation or even missed contacts, which costs precious time and points in competition. It's not uncommon to see a dog with slightly long nails constantly scrambling for purchase, wasting energy and slowing their flow. This is one of the often-overlooked factors in a dog's agility performance.
The Link Between Nail Length and Joint Health
Beyond performance, the long-term health implications of overgrown nails, especially for a breed prone to certain orthopedic issues like Papillons, are substantial. When nails are too long, they push against the ground, forcing the paw to splay and the toes to be held in an unnatural, upward position. This seemingly minor alteration in paw posture has a ripple effect up the leg. The entire weight-bearing structure of the leg, from the phalanges (toes) to the carpus (wrist), elbow, and shoulder, is impacted.
For Papillons, who are already predisposed to What Patellar Luxation Does to a Papillon, this added stress on the joints is particularly concerning. The unnatural angle of the paw puts increased strain on the tendons and ligaments surrounding the kneecap. Over time, this chronic, low-grade stress can exacerbate existing patellar luxation or contribute to its development. It can also lead to inflammation, pain, and eventually, degenerative joint disease or arthritis. It’s a vicious cycle: the dog compensates for uncomfortable paws, which alters their gait, which then puts further strain on their joints. As a Papillon ages, these subtle stressors can accumulate, making their knees worse over time. Whether a Papillon's Knees Get Worse With Age is a real concern, and proper nail care is a simple, yet powerful, preventative measure. Short nails allow the paw to maintain its natural, compact shape, distributing weight correctly and protecting those delicate joints from unnecessary strain, allowing your Papillon to continue enjoying their active life for as long as possible. Why a Papillon's Nails Affect Its Knees explains this in even more detail.
Recognizing "Too Long" – What to Look For
It can be surprisingly tricky for new Papillon owners, or even seasoned ones, to truly gauge when nails have become too long. After all, they don't look dramatically different overnight. It's often a gradual creep, and because Papillons are so adept at hiding discomfort, you might not notice any overt signs of pain until a problem is already well-established. How a Papillon Hides Pain is a critical read for any owner.
Visual Cues and the "Clicking" Sound
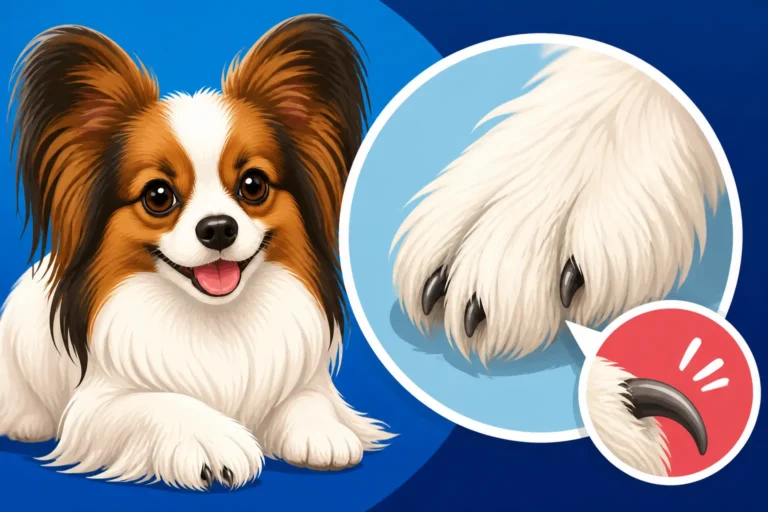
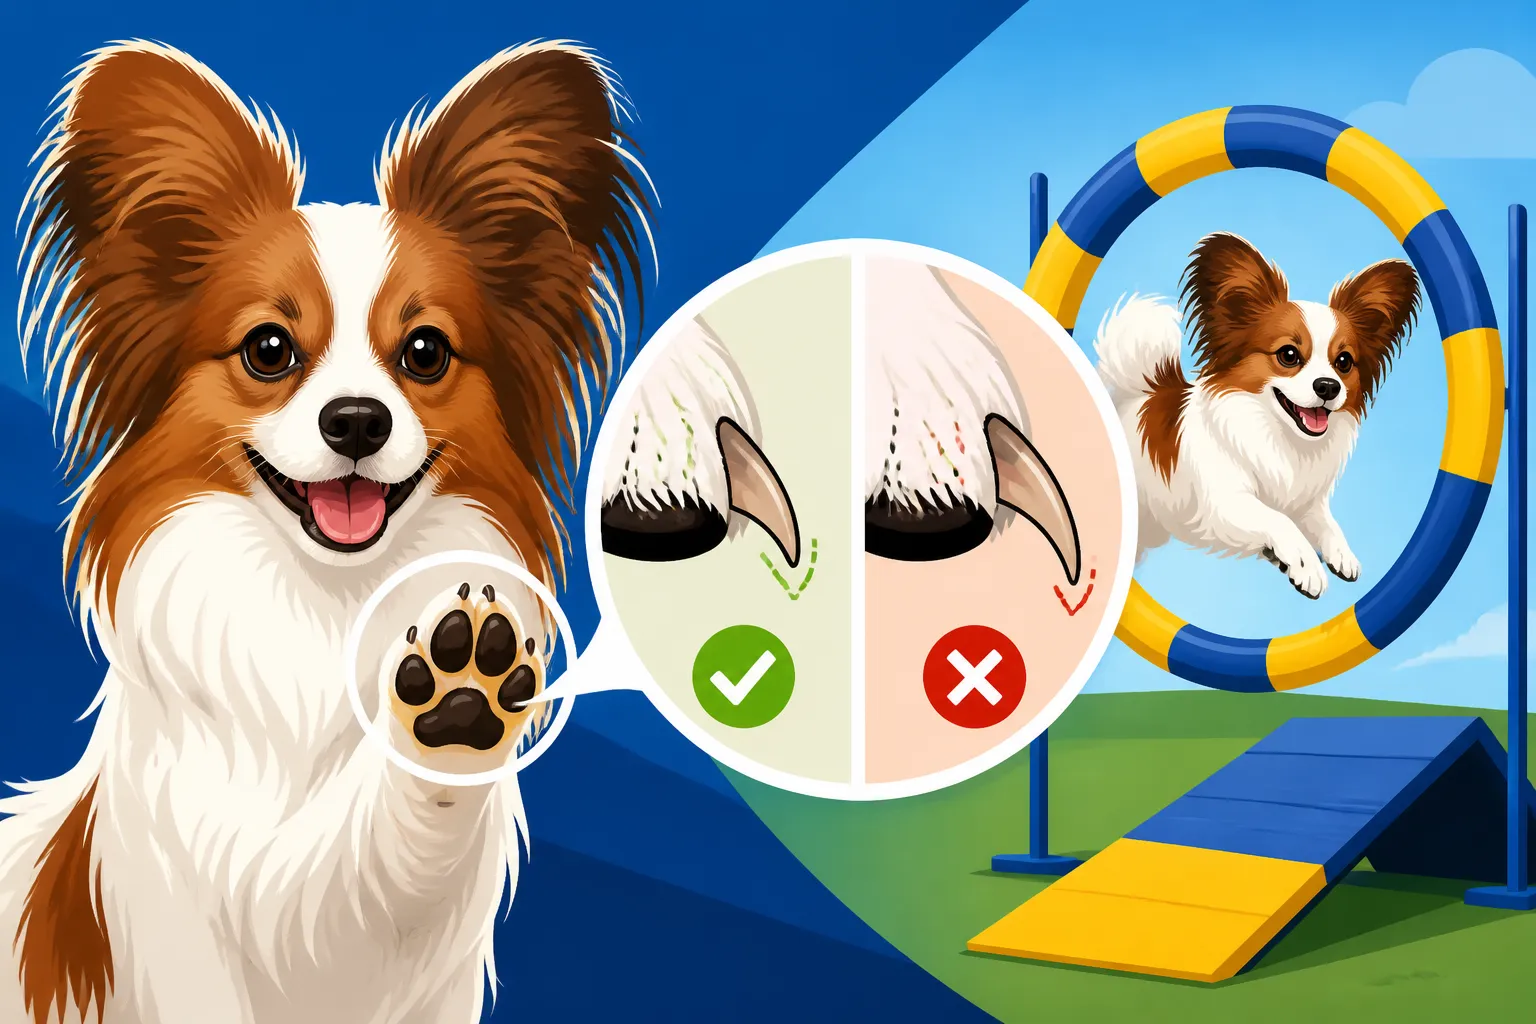
The most immediate and obvious sign that your Papillon's nails are too long is the sound they make on hard surfaces. If you can hear a distinct "click, click, click" as your dog walks across your kitchen tile, hardwood floors, or pavement, their nails are definitely overgrown. When they stand naturally, their nails should not be touching the ground. You should be able to slide a piece of paper easily under each nail without it catching. If the nail makes contact, it’s already pushing the paw into an unnatural position.
Another visual cue is the angle of their toes. If the nails are long, they will push the toes back and upward, making the paw appear splayed or "flat-footed." This is the opposite of the tight, compact "cat foot" that is desirable for proper gait and agility work. Don't forget the dewclaws! While many dogs have them removed, if your Papillon still has theirs, these nails often grow even faster and can curl into the leg if not regularly trimmed, causing significant pain and potential infection. Because they don't typically touch the ground, they don't get any natural wear and are often overlooked. A quick glance at the dewclaws should be part of every nail check.
The Quick and How It Influences Trimming
The "quick" is the pink, fleshy part inside your Papillon's nail that contains nerves and blood vessels. Cutting into the quick is painful for your dog and causes bleeding, which is a major source of anxiety for many owners. The fear of "quicking" their dog often leads owners to trim too conservatively, leaving the nails longer than they should be, or to avoid trimming altogether.
Here's the crucial thing about the quick: it recedes when nails are trimmed frequently and consistently short. If nails are allowed to grow long, the quick grows out with them. This means that if your Papillon currently has long nails, you might not be able to get them to the ideal agility length in one go without hitting the quick. The solution is a consistent, incremental approach. You need to trim small amounts very frequently – think every few days – to encourage the quick to recede over time. This process can take weeks or even months, but with patience and persistence, you can gradually push the quick back, allowing the nails to be trimmed to that ideal, athletic length. This is often why professional groomers or veterinary technicians are called in to assist, as they have the experience and often specialized tools to make this process as stress-free as possible for both you and your dog. Whether a Papillon Needs a Professional Groomer for tasks like this is a common question, and for some, it's definitely the right answer.
Effective Strategies for Keeping Papillon Nails Agility-Ready
Keeping a Papillon's nails short for agility isn't a one-time event; it's a lifestyle commitment. It requires dedication and a strategic approach, especially when dealing with those notoriously fast-growing nails. But with the right techniques and tools, it becomes a manageable part of your routine.
Regular Trimming – Frequency and Technique
For an agility Papillon, "regular" means frequent. We're not talking about once a month; we're talking every few days, ideally daily if you're using a grinder, or at least two to three times a week with clippers. The goal is to keep the nails from ever reaching the floor when your dog is standing. This hyper-frequent schedule is what encourages the quick to recede, allowing you to gradually achieve those super-short, athletic nails.
When it comes to tools, you have a couple of main options:
- Clippers: Scissor-style clippers are often preferred for smaller breeds like Papillons over guillotine types, as they offer more control. The key is to take off only the very tip, a tiny sliver at a time. For white nails, you can often see the quick as a pinkish area; stop well before that. For black nails, which are much trickier, look for the small gray or white circle in the center of the cut nail – that's your cue to stop. Any further and you'll hit the quick.
- Dremel/Grinder: Many agility enthusiasts swear by a rotary tool or Dremel-style grinder. These allow for a much smoother, more gradual reduction of the nail, reducing the risk of hitting the quick. You can "round off" the nail, getting it incredibly short without the sharp edges clippers leave. The sound and vibration can be intimidating for some dogs, so introduce it slowly with lots of positive reinforcement. Start with just touching the tool to the nail for a second, then reward, gradually increasing the duration.
Always have styptic powder (like Kwik Stop, easily found on Chewy or Amazon) on hand just in case you do hit the quick. A quick application will stop the bleeding and ease your own anxiety. Remember, positive reinforcement is absolutely key. Make nail trimming a calm, rewarding experience with treats and praise, rather than a wrestling match.
The Role of Diet and Supplements
While diet and supplements don't directly shorten nails, they play a crucial, indirect role in their overall health and manageability. Healthy nails are strong, less brittle, and less prone to splitting or cracking, which can make trimming easier and more consistent.
A high-quality diet provides the necessary nutrients for strong nails. Look for dog foods with good protein sources and beneficial omega fatty acids, which contribute to healthy skin, coat, and nails. Brands like Ollie, known for their fresh, human-grade ingredients, can be excellent for providing a nutrient-dense foundation that supports overall health, including nail integrity. If your Papillon is on a more traditional kibble, ensuring it’s a premium brand available through retailers like Chewy can still make a significant difference.
Some owners also opt for joint supplements, especially if their Papillon is active in agility or has a predisposition to joint issues like patellar luxation. While these primarily target cartilage and joint fluid, a healthy musculoskeletal system is interconnected. Stronger joints mean better support for the paws and less overall strain when executing those demanding agility maneuvers. Whether Agility Wears Out a Papillon's Knees is a valid concern, and a good diet combined with proper nail care is a strong defense.
Environmental Factors and Natural Wear
While consistent home care is paramount, the environment your Papillon lives and trains in can contribute to natural nail wear. Unfortunately, for most Papillons, especially those living in apartments or with limited access to rough terrain, natural wear alone simply isn't enough to keep their nails agility-short. Whether a Papillon Suits an Apartment is a common question, and while they absolutely can, it means more diligent home nail care.
Walking on rough surfaces like concrete, pavement, or even certain types of gravel can help file down nails. A brisk walk around the block daily can certainly make a small dent, but it won't replace a dedicated trimming routine for an agility dog. Think of it as a bonus, not a primary solution. For dogs training on dedicated agility fields, the various surfaces, from grass to rubber matting, can offer some minimal abrasion, but again, it’s rarely enough to negate regular trims.
Some creative owners use scratching boards at home. These are essentially pieces of wood covered in sandpaper that dogs learn to scratch at, filing down their nails in a more interactive way. You can find ready-made versions or even DIY them with materials from local hardware stores or Amazon. While they might not get every nail perfectly, they can be a great supplement, especially for dogs who are resistant to clippers or grinders. However, always ensure the surface isn't so abrasive that it irritates their paw pads.
| Nail Trimming Tool | Pros | Cons | Best For | Frequency |
|---|---|---|---|---|
| Scissor Clippers | Easy to use; quick cuts; quiet; precise for small tips. | Can leave sharp edges; risk of quicking if not careful. | Quick, small trims; fearful dogs (less noise). | 2-3 times per week. |
| Guillotine Clippers | Fast for larger nails. | Less control for tiny Papillon nails; can crush nail if dull. | Not recommended for Papillons. | N/A (avoid for Papillons). |
| Dremel/Grinder | Smoothest finish; effective for quick recession; safer from quicking. | Noise and vibration can scare some dogs; learning curve; takes longer. | Achieving very short nails; black nails; maintaining length. | Daily or every other day. |
| Scratch Board | Engaging; can be fun for the dog; natural filing. | Doesn't work for all nails (e.g., dewclaws); requires training. | Supplemental filing; desensitizing to nail care. | Daily to weekly, depending on dog's engagement. |
Overcoming Common Challenges
Keeping a Papillon's nails agility-ready isn't always smooth sailing. These tiny dynamos have big personalities, and sometimes, those personalities come with a side of strong opinions about nail care. It's crucial to approach these challenges with patience, understanding, and consistent positive reinforcement.
Dealing with a Fearful Papillon
If your Papillon turns into a furry, wriggling noodle or a snapping piranha at the sight of clippers or a Dremel, you're not alone. Many dogs develop a fear of nail trims, often due to a past negative experience (like hitting the quick) or simply a lack of early positive exposure.
The key to overcoming this fear is desensitization and counter-conditioning. This means slowly introducing the tools and pairing them with highly rewarding treats.
- Start with the tool alone: Place the clippers or Dremel on the floor. When your Papillon looks at it, gives it a sniff, or ignores it, reward them with a high-value treat. Repeat this over several short sessions.
- Introduce touch: Once they're comfortable with the tool's presence, touch the tool to their paw (not the nail yet), then immediately reward. Gradually progress to touching the tool to one nail, then rewarding.
- Simulate the action: For clippers, pretend to clip (make the clipping sound without actually cutting a nail) near their paw, then reward. For a Dremel, turn it on away from them, then turn it off and reward. Slowly bring the on Dremel closer, rewarding at each step, until they tolerate the sound and vibration near their paw.
- Gradual trimming: When they are comfortable with the tool, try trimming just one tiny nail, then stop and have a big party with treats and praise. The next session, do two nails, and so on. Keep sessions very short and always end on a positive note.
Remember, never force your Papillon. If they're showing signs of extreme stress or aggression, stop and try again later, or consider seeking help from a professional groomer or vet who can do it safely, or a positive reinforcement trainer for guidance. Starting this process when they are puppies is ideal. The Age a Papillon Can Start Jumping is usually around a year, so their nail care routine should be well-established long before then.
Maintaining Consistency and Preventing Relapse
The biggest pitfall in nail care is inconsistency. It’s easy to get busy, or to think "Oh, they're not that long yet," and skip a session. But for an agility dog, every skipped session pushes the nails longer and allows the quick to advance, making the next trim even harder.
To maintain consistency:
- Establish a routine: Pick specific days or times for nail trims and stick to them. Maybe it's every Sunday and Wednesday evening, or a quick Dremel touch-up every morning after breakfast.
- Keep tools accessible: Have your clippers, Dremel, and styptic powder in an easy-to-reach spot, so you don't have to hunt for them.
- Track progress: Some owners find it helpful to mark nail trim dates on a calendar or in a planner. This visual reminder can keep you accountable.
- Don't wait for "clicking": If you can hear the nails clicking, you've already let them get too long. The goal is to trim before they reach that point.
Preventing relapse means staying ahead of the growth. It's much easier to maintain short nails with frequent, small trims than to try and shorten overgrown nails by pushing back the quick. Think of it as chipping away at a mountain versus letting it grow into a giant peak. This consistent effort not only supports your Papillon's agility career but also ensures their comfort and long-term joint health. It's an investment in their happy, active life, whether they're flying over jumps or simply leaping off the sofa (though for their knees, Whether a Papillon Should Be Stopped From Jumping Off Furniture is also a good question to consider!).
Disclaimer
This article is for general informational purposes only and does not constitute professional advice. Laws, prices and regulations vary by location and change over time. Consult a qualified professional for guidance on your specific situation.